

Introduction
As this is the first in a series of introductory HTB Starting Point machines, I will take extra time covering commands and terms. This will not continue in further writeups because, well that would be redundant as hell.
tl;dr
Spoiler!
1. `Telnet` to the target.2. login as `root`.
3. `cat` flag.
4.

Establishing a Connection
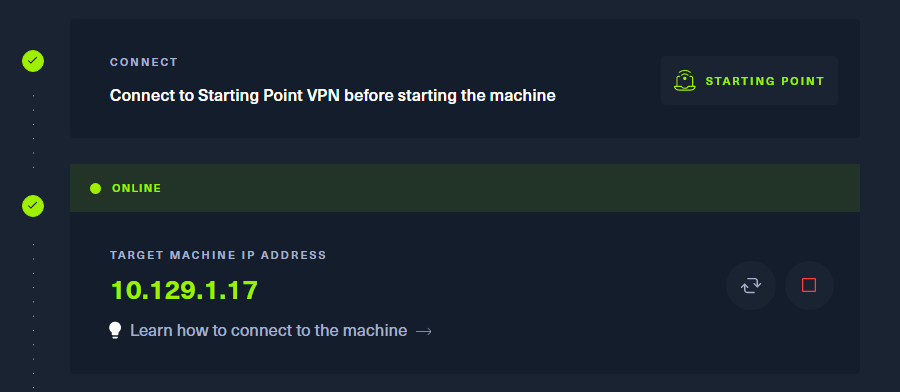
Let’s spawn the machine and launch our local vpn client:

sudo openvpn /path/to/your/file.ovpn
Now let’s confirm we can see the machine with a ping.
Set the machine’s IP to a variable first. You’ll want to make this a habit :)
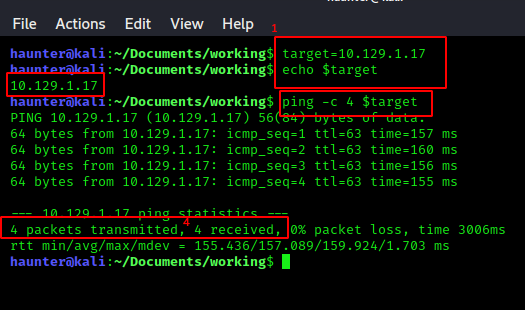
target=x.x.x.x echo $target Where x.x.x.x is your machine’s IP. Print out the variable with echo to verify it is stored correctly.
ping -c 4 $target Use the ping command to verify we can communicate with the machine. The -c 4 part specifies that we want a count of 4 pings to the machine.
We confirm network visibility by checking the received portion of the reply. 4 sent/4 receieved, and we are g2g.
The Tasklist
Now that we’ve established a connection, let’s get started on the tasks. These tasks are meant to educate, so make sure you take the extra time to research more about any tasks you are unfamiliar with.
Task 1
What does the acronym VM stand for?
**V**irtual **M**achine.
Task 2
What tool do we use to interact with the operating system in order to start our VPN connection?
The Terminal. You should be living and breathing inside a terminal everyday imo.
Task 3
What service do we use to form our VPN connection?
Openvpn
Task 4
What is the abreviated name for a tunnel interface in the output of your VPN boot-up sequence output?
tun is short for tunnel.
Task 5
What tool do we use to test our connection to the target?
ping, we did this at the end of the connection section.
Our First Scan
Task 6
What is the name of the tool we use to scan the target’s ports?
nmap, TryHackMe has a great room on this tool here. This will be one of your most used tools, so get intimate with it!
Task 7
What service do we identify on port 23/tcp during our scans?
We should run a default scan from now on once we’ve established network visibility, as we did earlier. We’ll run the following nmap scan as a default:
nmap -v -T4 -A -oA recon/all $target
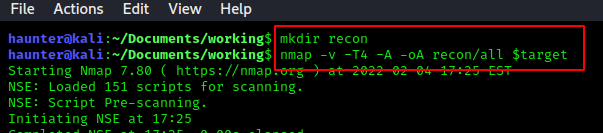
-v: enable verbose mode. Make this another habit so we always have more info.-T4: time/throttle speed for the scan. Range is 0 to 5, with 0 being the slowest and 5 the fastest. Slow is more reliable & less ‘loud’, but can take a considerable amount of time. 5 is extremely fast, but can be inaccurate and trigger many IDS/IPS alerts.-oA recon/all: This flag combined with A will output the scan results into files in folder ‘recon’. This folder must exist before the scan is ran, and can also represent a full dir path. The A stands for ‘all’ and will create three files formatted each for nmap, xml, and gnmap. See the below image at #1.

We can view the results by running the following command (above picture at #2):
cat recon/all.nmap | less
cat: This command outputs the contents of a file to the current terminal window. It does not knock stuff off tables without a reason.|: The ‘pipe’ is a powerfull tool used to redirect the output of a command to the leftcatin this instance) to a second command on the right (lessin this instance).less: This command let’s us paginate output. This is handy, for example, if the contents of our nmap screen is too large to read on our current screen. Withoutless, we’d have to deal with scrolling through output we can be annoying in terminal. Withless, we can go up and down the output using thePGUPandPGDNbuttons respectively. Once you are done viewing, you can exit with theqbutton.
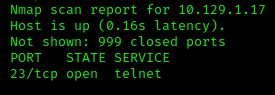
Here are our scan results. We can see that telnet is the service running on port 23.
Attacking
Task 8
What username ultimately works with the remote management login prompt for the target?
If you have not used telnet before, run man telnet to see the syntax for the command.
telnet $target appears to be the basic syntax for attempting a connection. Let’s give it a shot.
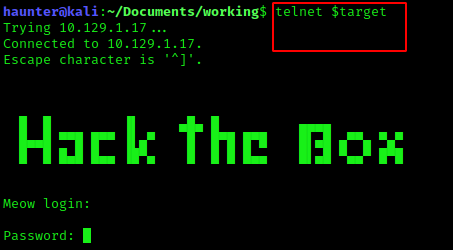
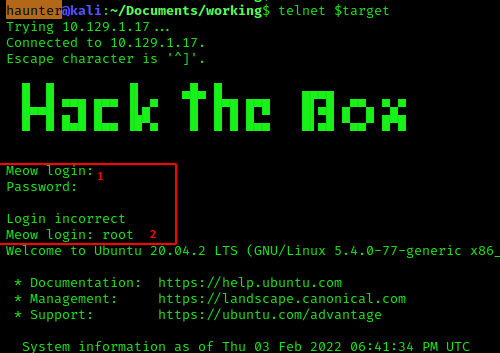
Great! The target is accepting attempts to authenticate. Below we try to connect without a username or password…but are shit out of luck.
For a first try, always try root. We try it here, and success:
Task 9
Submit root flag
-Now that we are in, let’s do a simple **ls** and we see our flag.txt. cat out the contents and you have gotten your first flag!
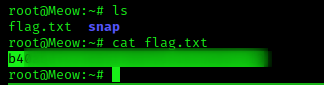
Note: my flag is blurred out as sharing a flag is frowned upon, not because it’s full of f-bombs or similar.

Lessons Learned
rootand other priviliged account names should be the first to try against foothold points due to misconfigurations or default credentials